You’re able to upload documents on the PlanGrid website or from the Windows app.
Only Admins can add, delete, or edit documents on a project. Power Collaborators and Collaborators will only be able to view them.
Featured:
Uploading documents on the PlanGrid website
Viewing, editing, and renaming documents
Creating or deleting subfolders
Searching your project documents
Uploading documents on the PlanGrid website
- Select the project that you’d like to upload documents to
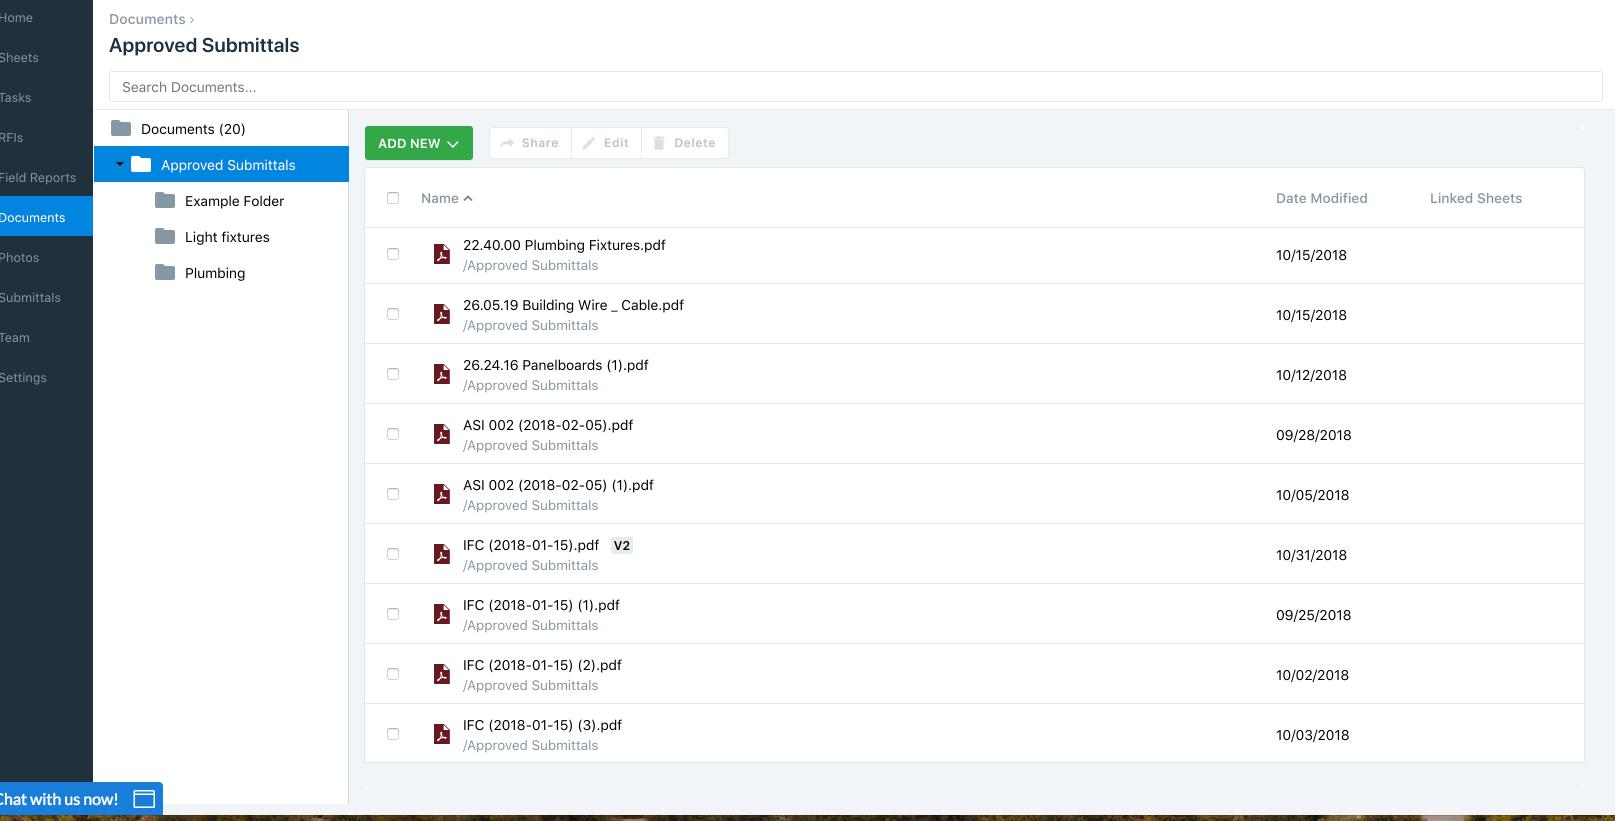
- Click on the “Documents” icon
- Click “ADD NEW”
- Select “Upload files” from the dropdown menu
- Choose the folder you’d like to add documents to
- Drag your files or choose to upload from your computer
You’re able to upload multiple documents at once from the upload screen. If you upload a document with the same name as an existing document, and in the same folder, you’ll see a “V2” icon next to the file name.
(If the new version is not uploaded in the same folder, it will not version together.)
You’re also able to upload multiple documents from the Sheets page.
- Select the sheets to which you’d like to add documents
- Click “Edit” and then “Add document”
- Choose the folder you’d like to add the file to (optional)
- Drag your files into the box or upload them from your computer
- Click “Done uploading”
- Verify the file and click “Save changes”
Viewing, editing, and renaming documents
Once your documents have been uploaded, you can view, edit, or rename them from the “Documents” page.
Navigate to the folder that contains your document and select it using the checkbox next to the document name. Then click “Edit.” A side panel will appear, where you can edit the name and location of the document. To save your changes, click “Save Changes.”
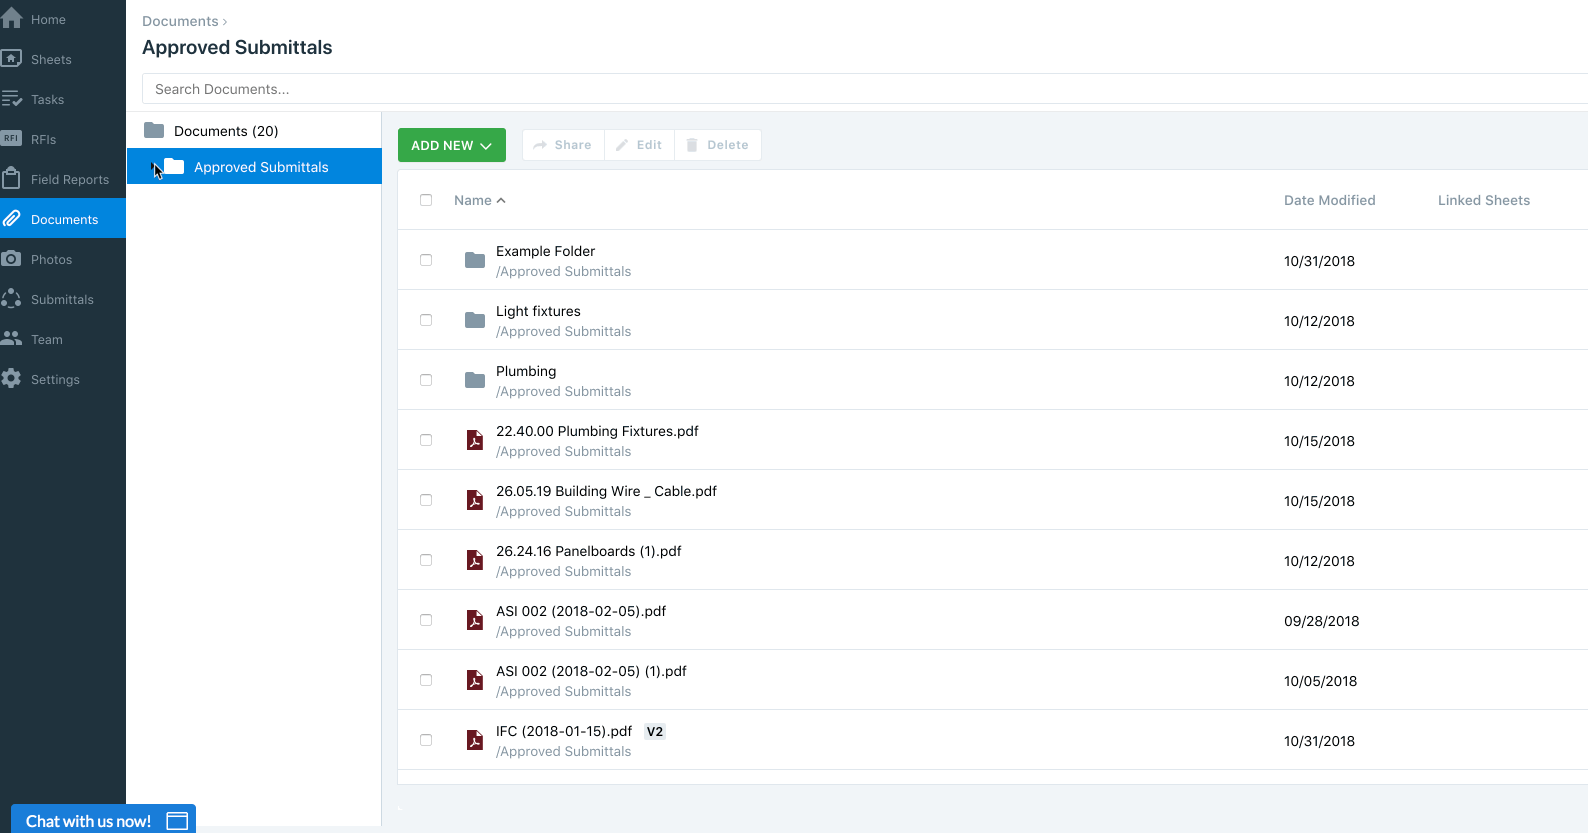
Creating or deleting subfolders
Keep all of your documents organized using folders. All of your folders will live in the root folder “Documents,” and you can add subfolders to any folder.
- Select the folder you’d like to create a subfolder for
- Click “ADD NEW”
- Select “Create a new folder”
- In the pop-up box, type the subfolder name and select “Create”
It’s also possible to delete a subfolder.
- Select the parent folder
- Click the checkmark next to the folder you’d like to delete to select it
- Click “Delete”
- Confirm that you’d like to delete the folder and press

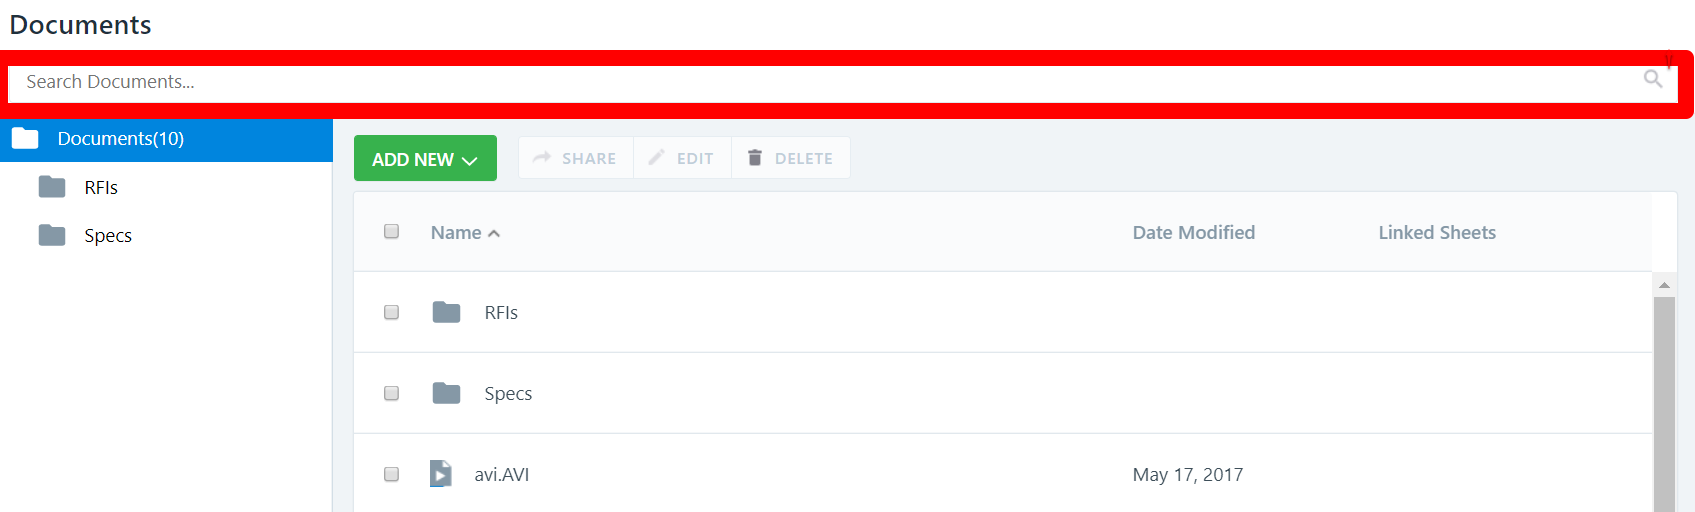
Searching your project documents
To quickly find a document you’re looking for, use the search bar. You can type the folder name, document name, or sheet where the document is located.
Sharing and downloading
To save a document on the web, open up the document and click the “Download” button in the upper right-hand corner of the screen.

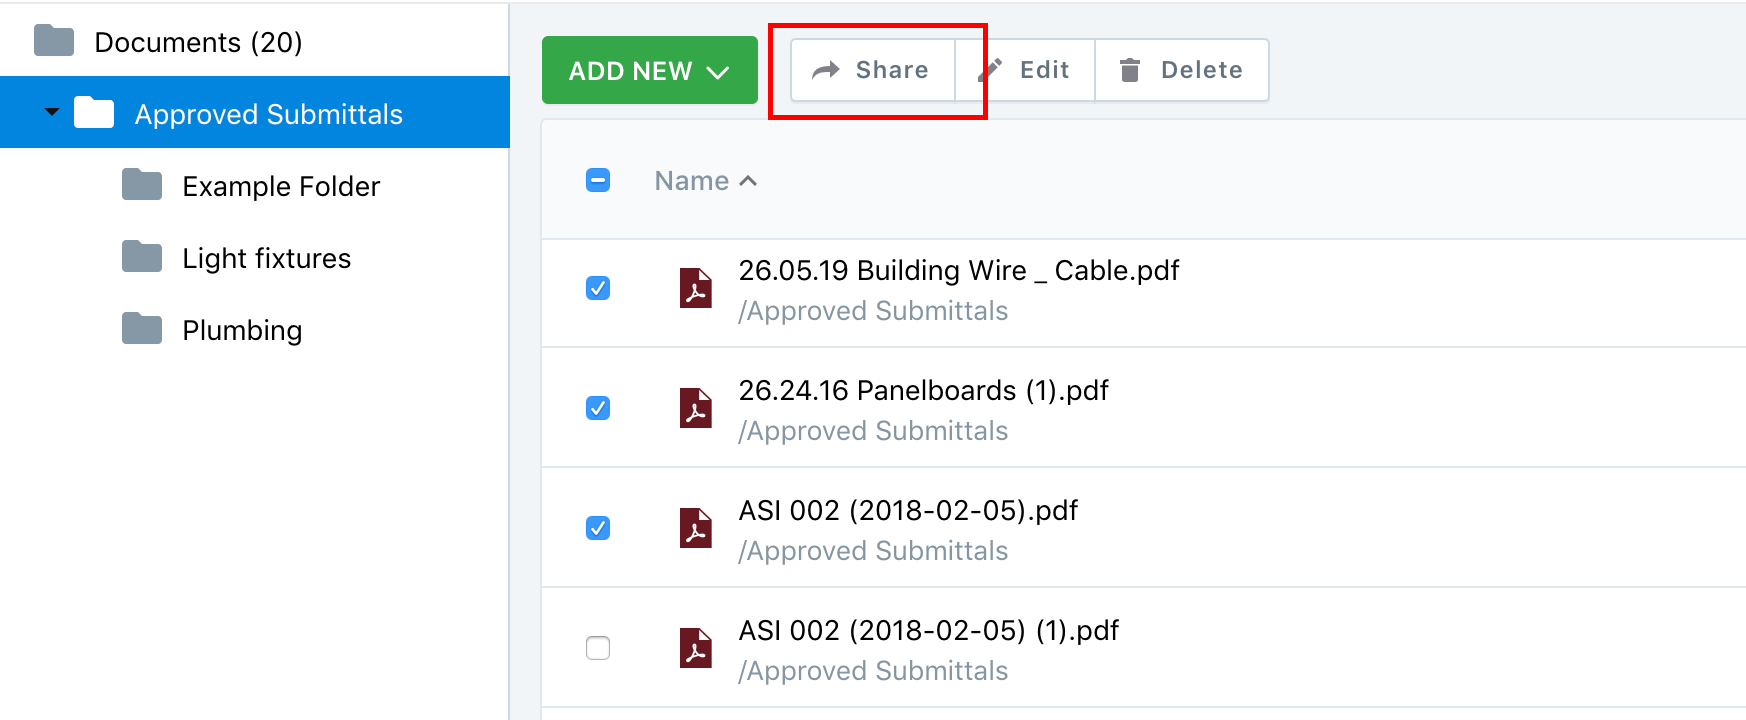
If you’re an Admin or Power Collaborator on a project, you can also select multiple documents and export a link to download them.
Select the documents you want to share and then click on the “Share” button.
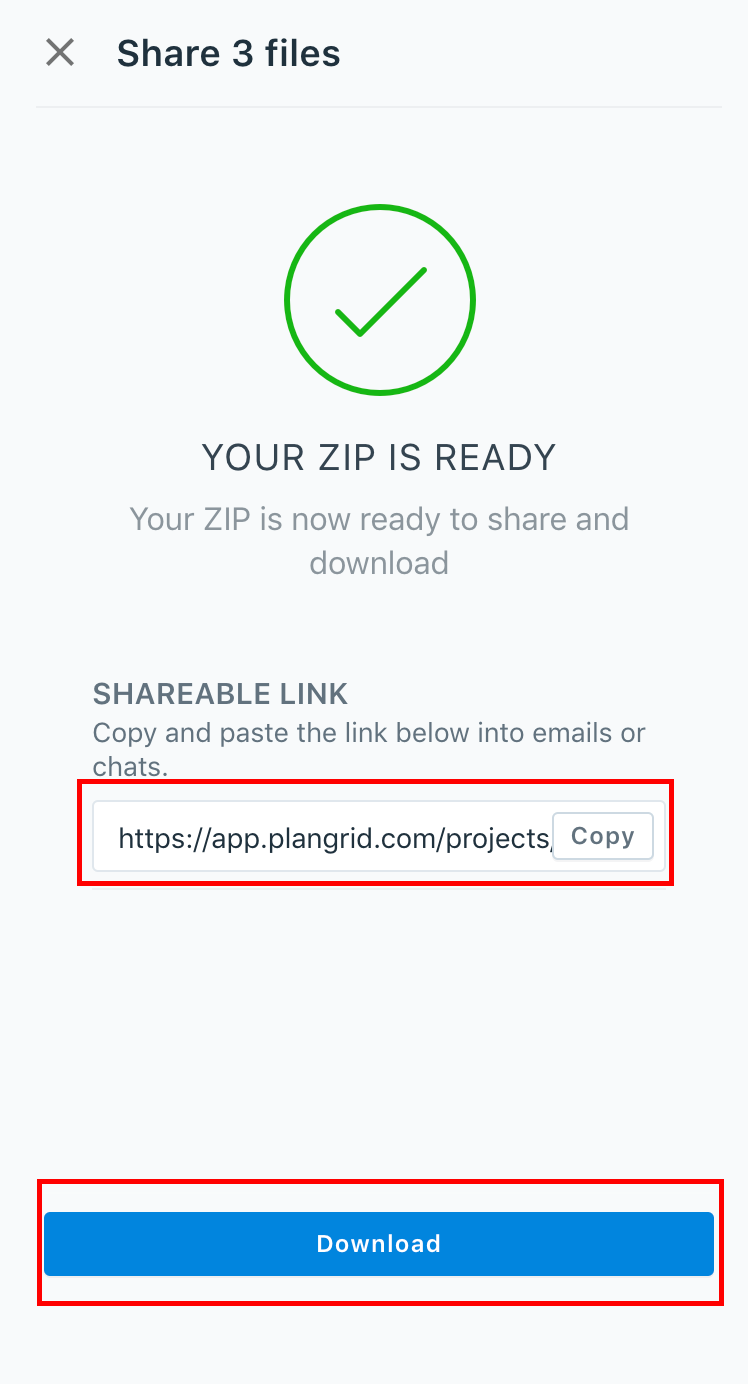
PlanGrid will generate a link to a .ZIP file of your documents. You can copy the link to share it or download the ZIP file directly.
You can also download your Documents log directly from the Settings page. Simply select “Download Documents Log” for a spreadsheet of your documents.