Photo reports allow you to select multiple photos from your projects and export them in a PDF document. You can export a photo report from the Photos tab or directly from a sheet that has photo markups associated to it. The features are available on all platforms and have file limits noted. If you would like to export all photos, please take a look at the As-Built option. Please note: the size of a photo report cannot be altered and each page will be a standard 8.5" x 11" sheet size.
Featured:
Reports from the Photos Tab
You can create customized photo reports from the PlanGrid Photos tab using Sort and Filter options or by manually choosing the photos you need in the report. You can also generate and/or copy a sharable PDF link or PDF report, download individual photos from the gallery, or email the report to a list of addresses – PlanGrid project team or non-PlanGrid users.
Web:
Your reports can be customized to include several pieces of contextual information with your photo reports, such as: custom report title, description, custom sort order, number of items per row, and GPS location.
- Select the images you want to export or filter for the specifications needed for the report or use the Sort and Filter options to choose photos. If you would like to exclude photos that were uploaded as part of an RFI or Field Report, be sure to check the box marked “Hide Photos and Videos from Field Reports and RFIs” to hide them in the gallery view.
- Click “Export” and enter a custom report title and description (title limit 300 characters; description limit 2000 characters) & choose number of photos per row (options include 1-5 photos; default is 2 photos per row) as well as photo details to be included in your report.

- Click “Generate” and the optional email field
- Share or copy the link
iOS
- Go into the Photos tab and tap “Select” to choose photos or use the Sort and Filter options to choose photos.
- Tap “Export” icon in the bottom left
- Enter a title and description for your report (title limit 300 characters; description limit 2000 characters) & choose number of photos per row (options include 1-5 photos; default is 2 photos per row)
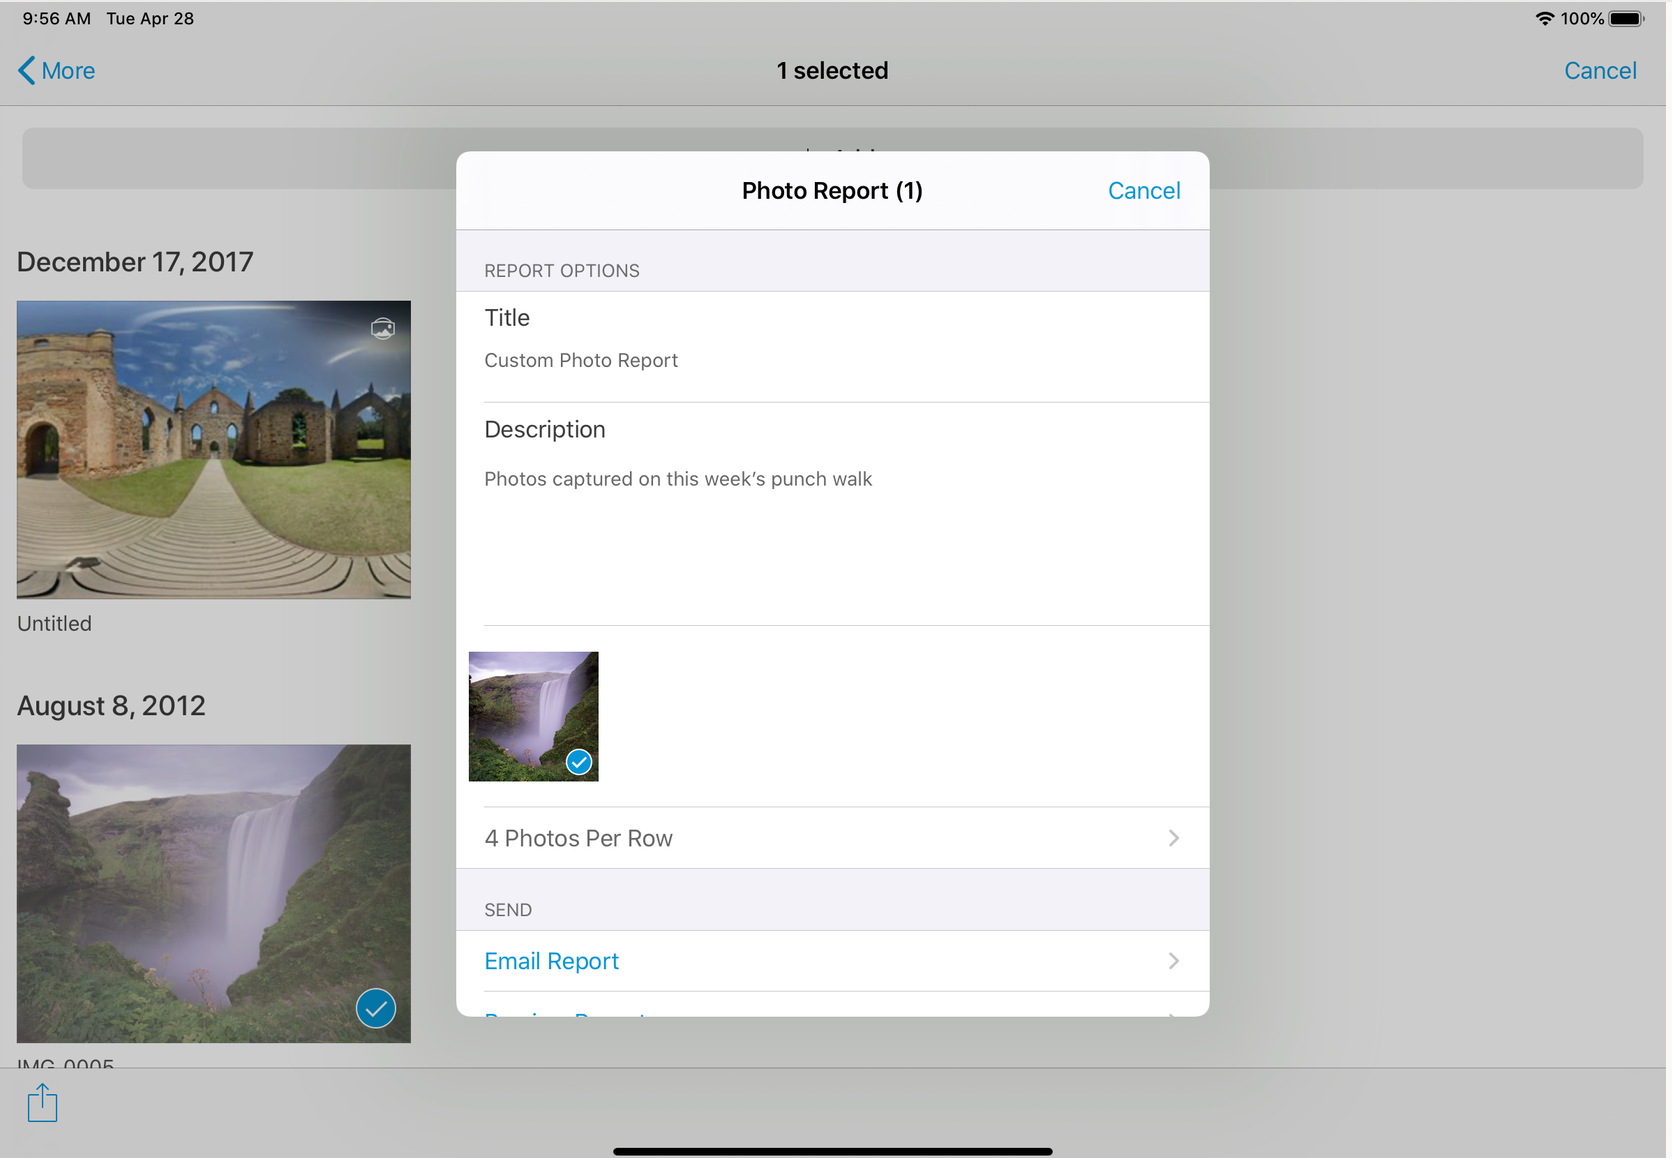
- Choose how to share the photos (PDF or email sharable link)
Android
- Long press on the first image you would like to export, and tap to checkmark any others once the first has been selected or use the Sort and Filter options to choose photos.
- When you’ve selected the images you want, tap the “Export” icon in the upper right.
- Enter a title and description for your report (title limit 300 characters; description limit 2000 characters) & choose number of photos per row (options include 1-5 photos; default is 2 photos per row)
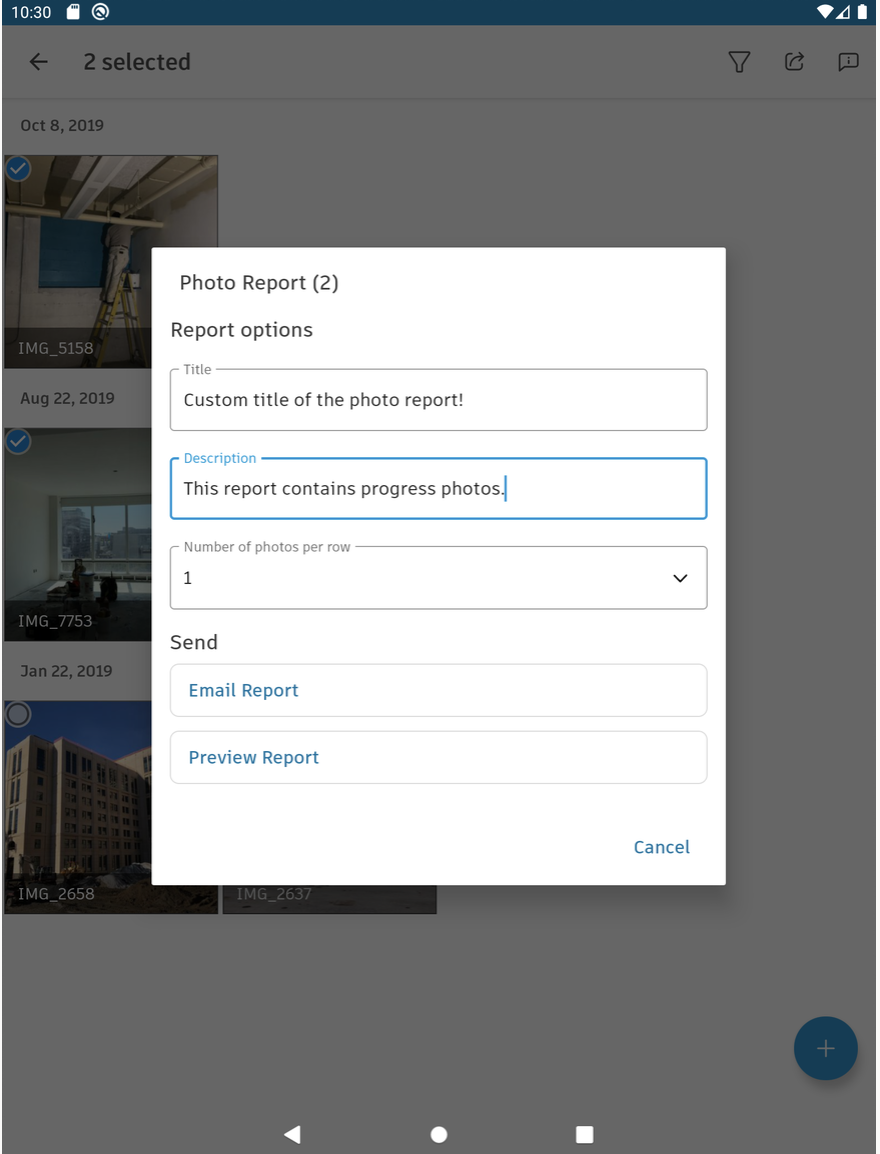
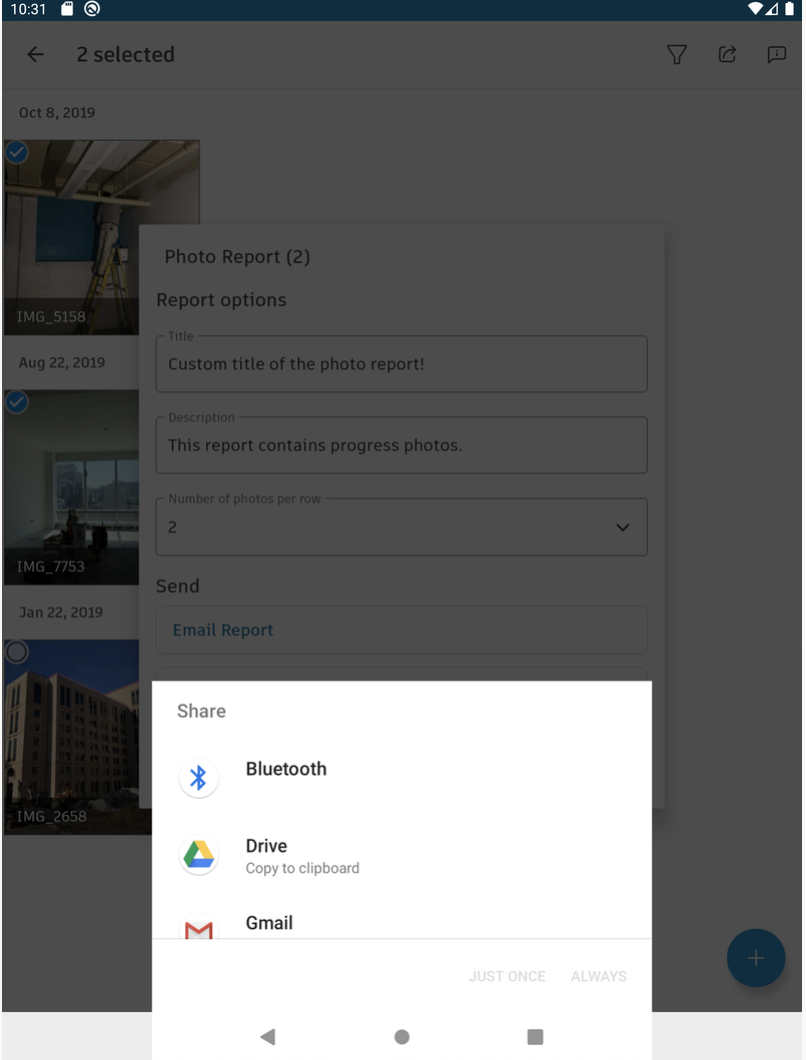
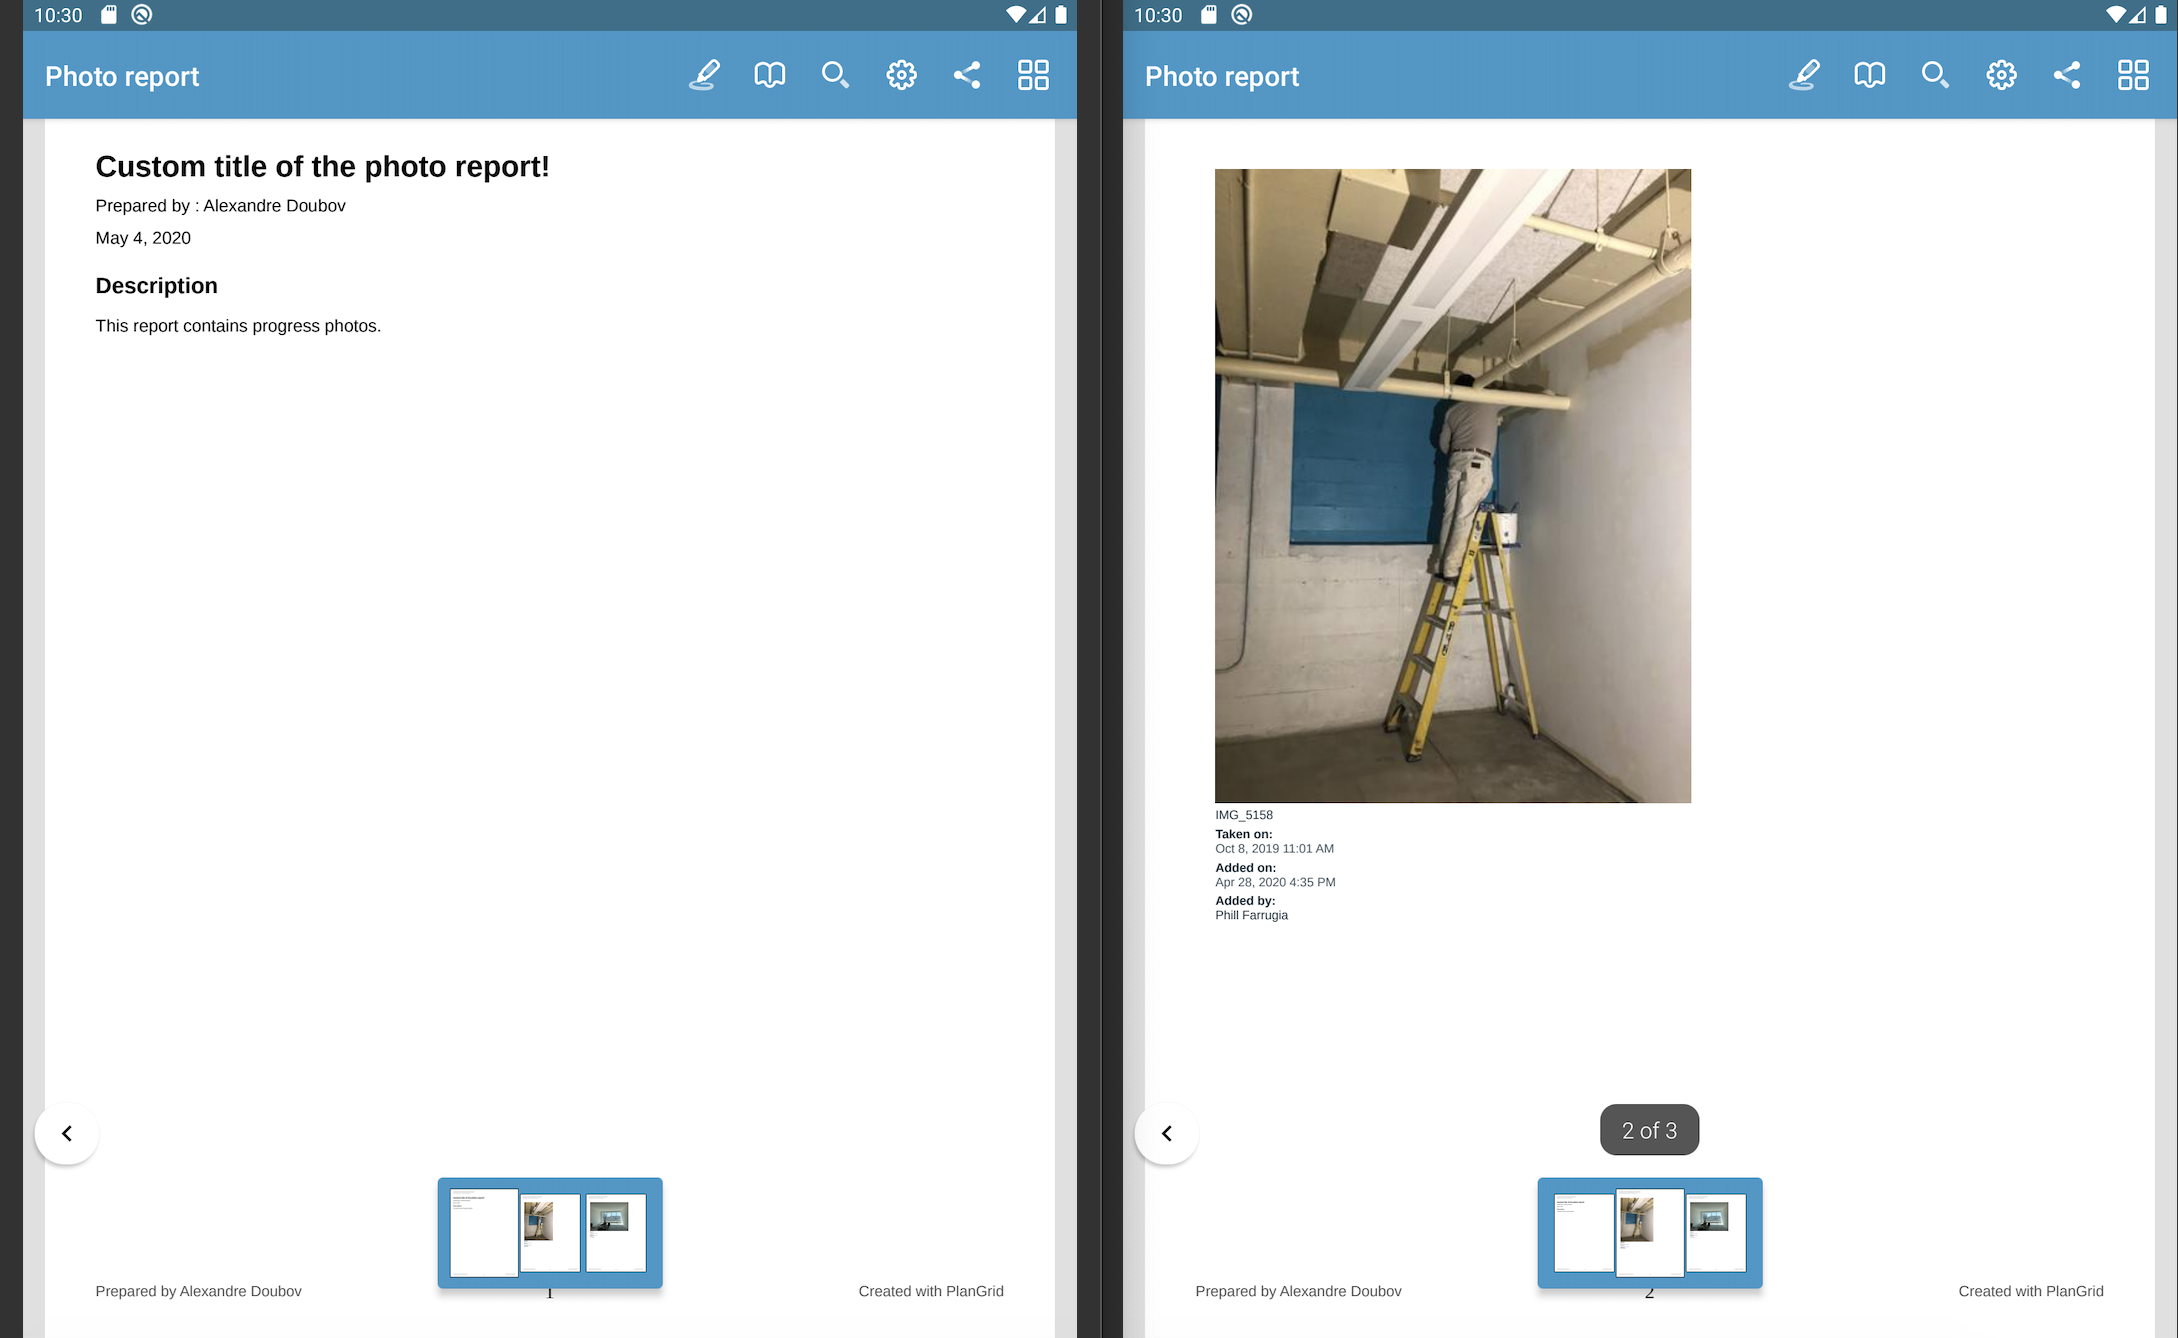
- This will generate a shareable link to your photos export. Select how you’d like to share the link.
Windows
- Open up your project and go into the Photos tab, then hover your mouse over a photo until you see a checkbox. Click the checkbox on all of the photos you’d like to export or use the Filter option to choose photos. Then click the “Share” button and select “Photo Reports.”

- PlanGrid will generate a shareable link with your photo report. You can copy the link to share it or download it directly as a PDF.
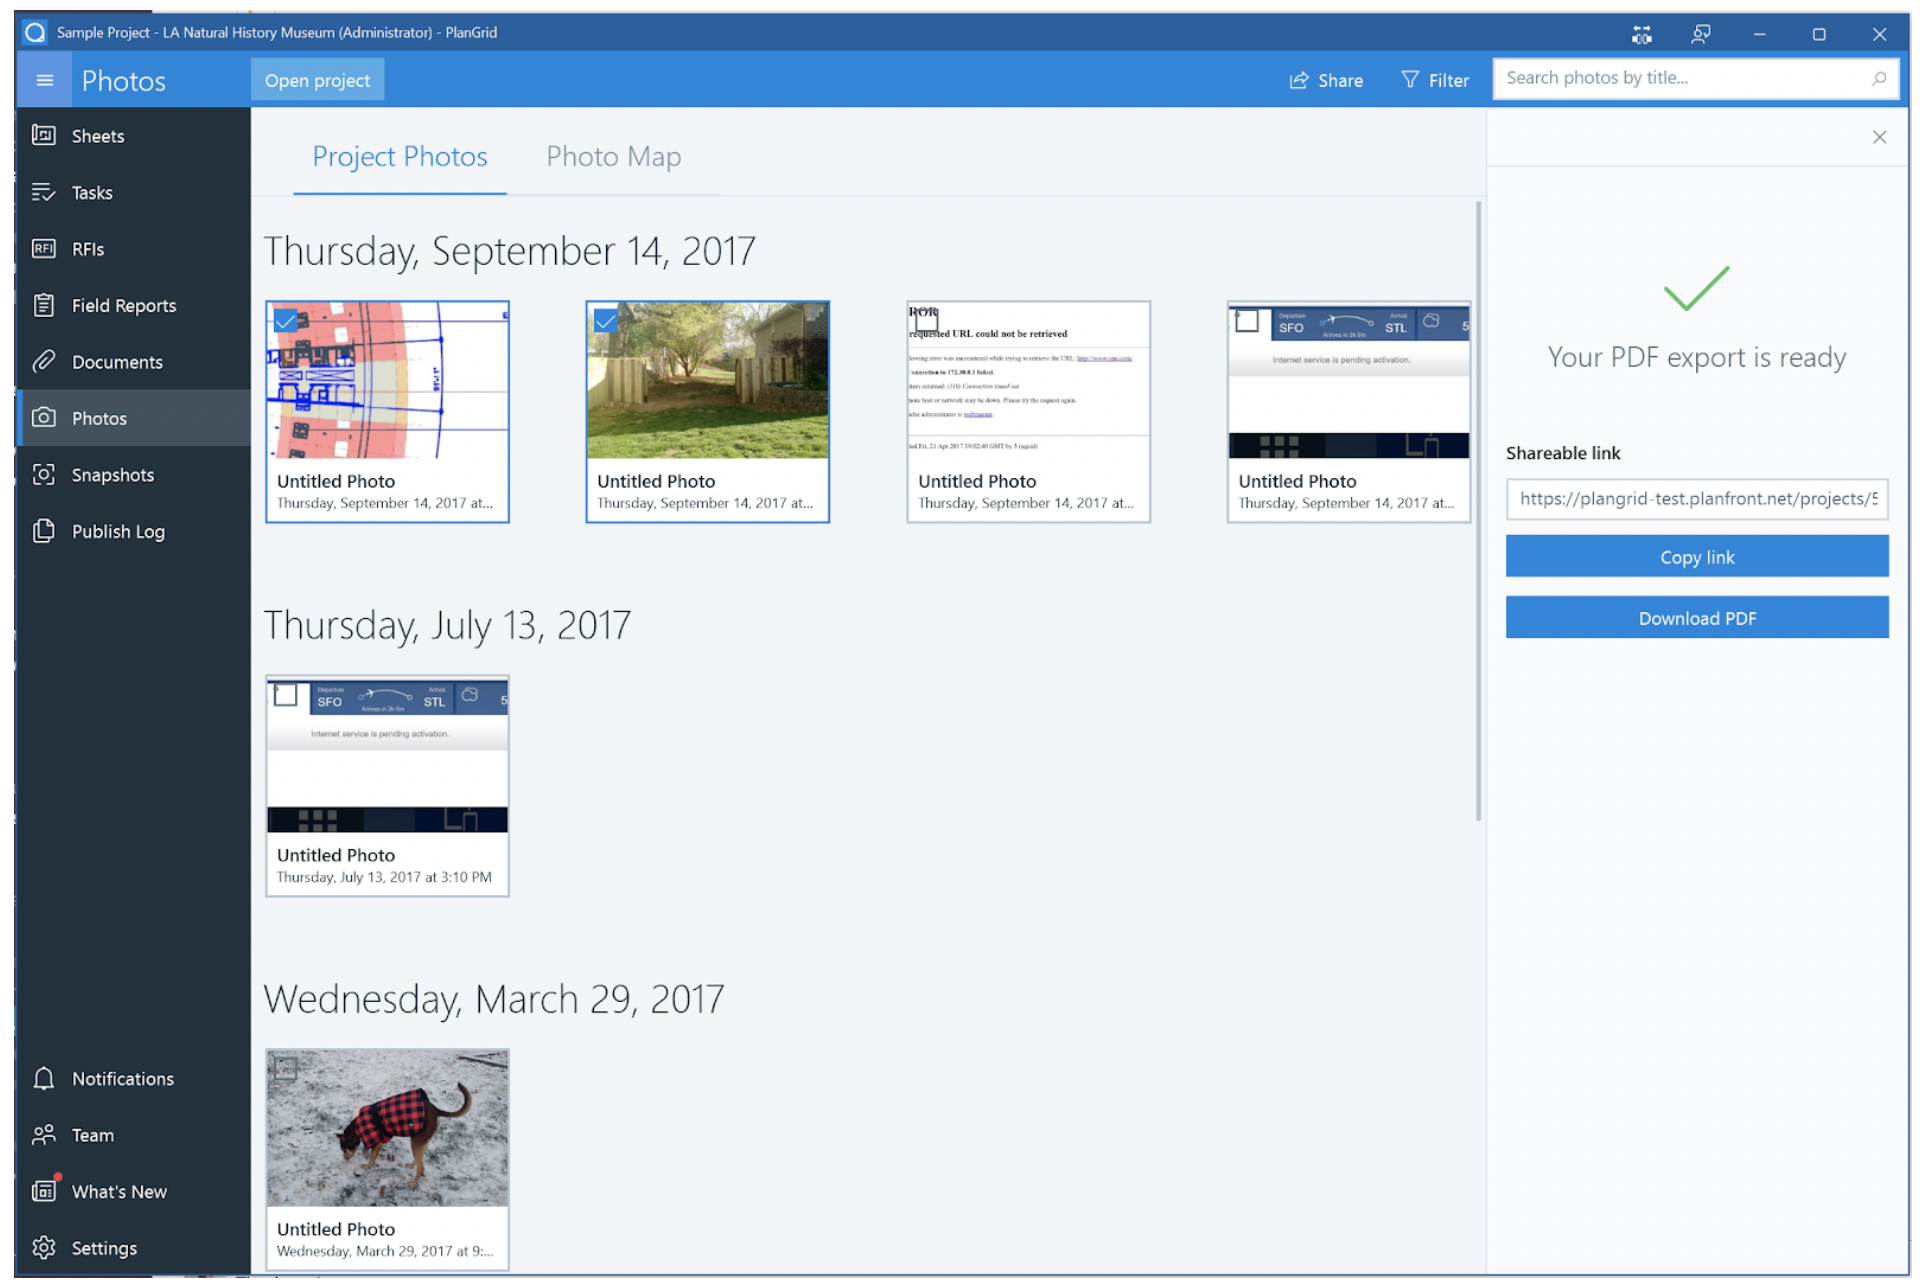
Photo Reports from a Sheet
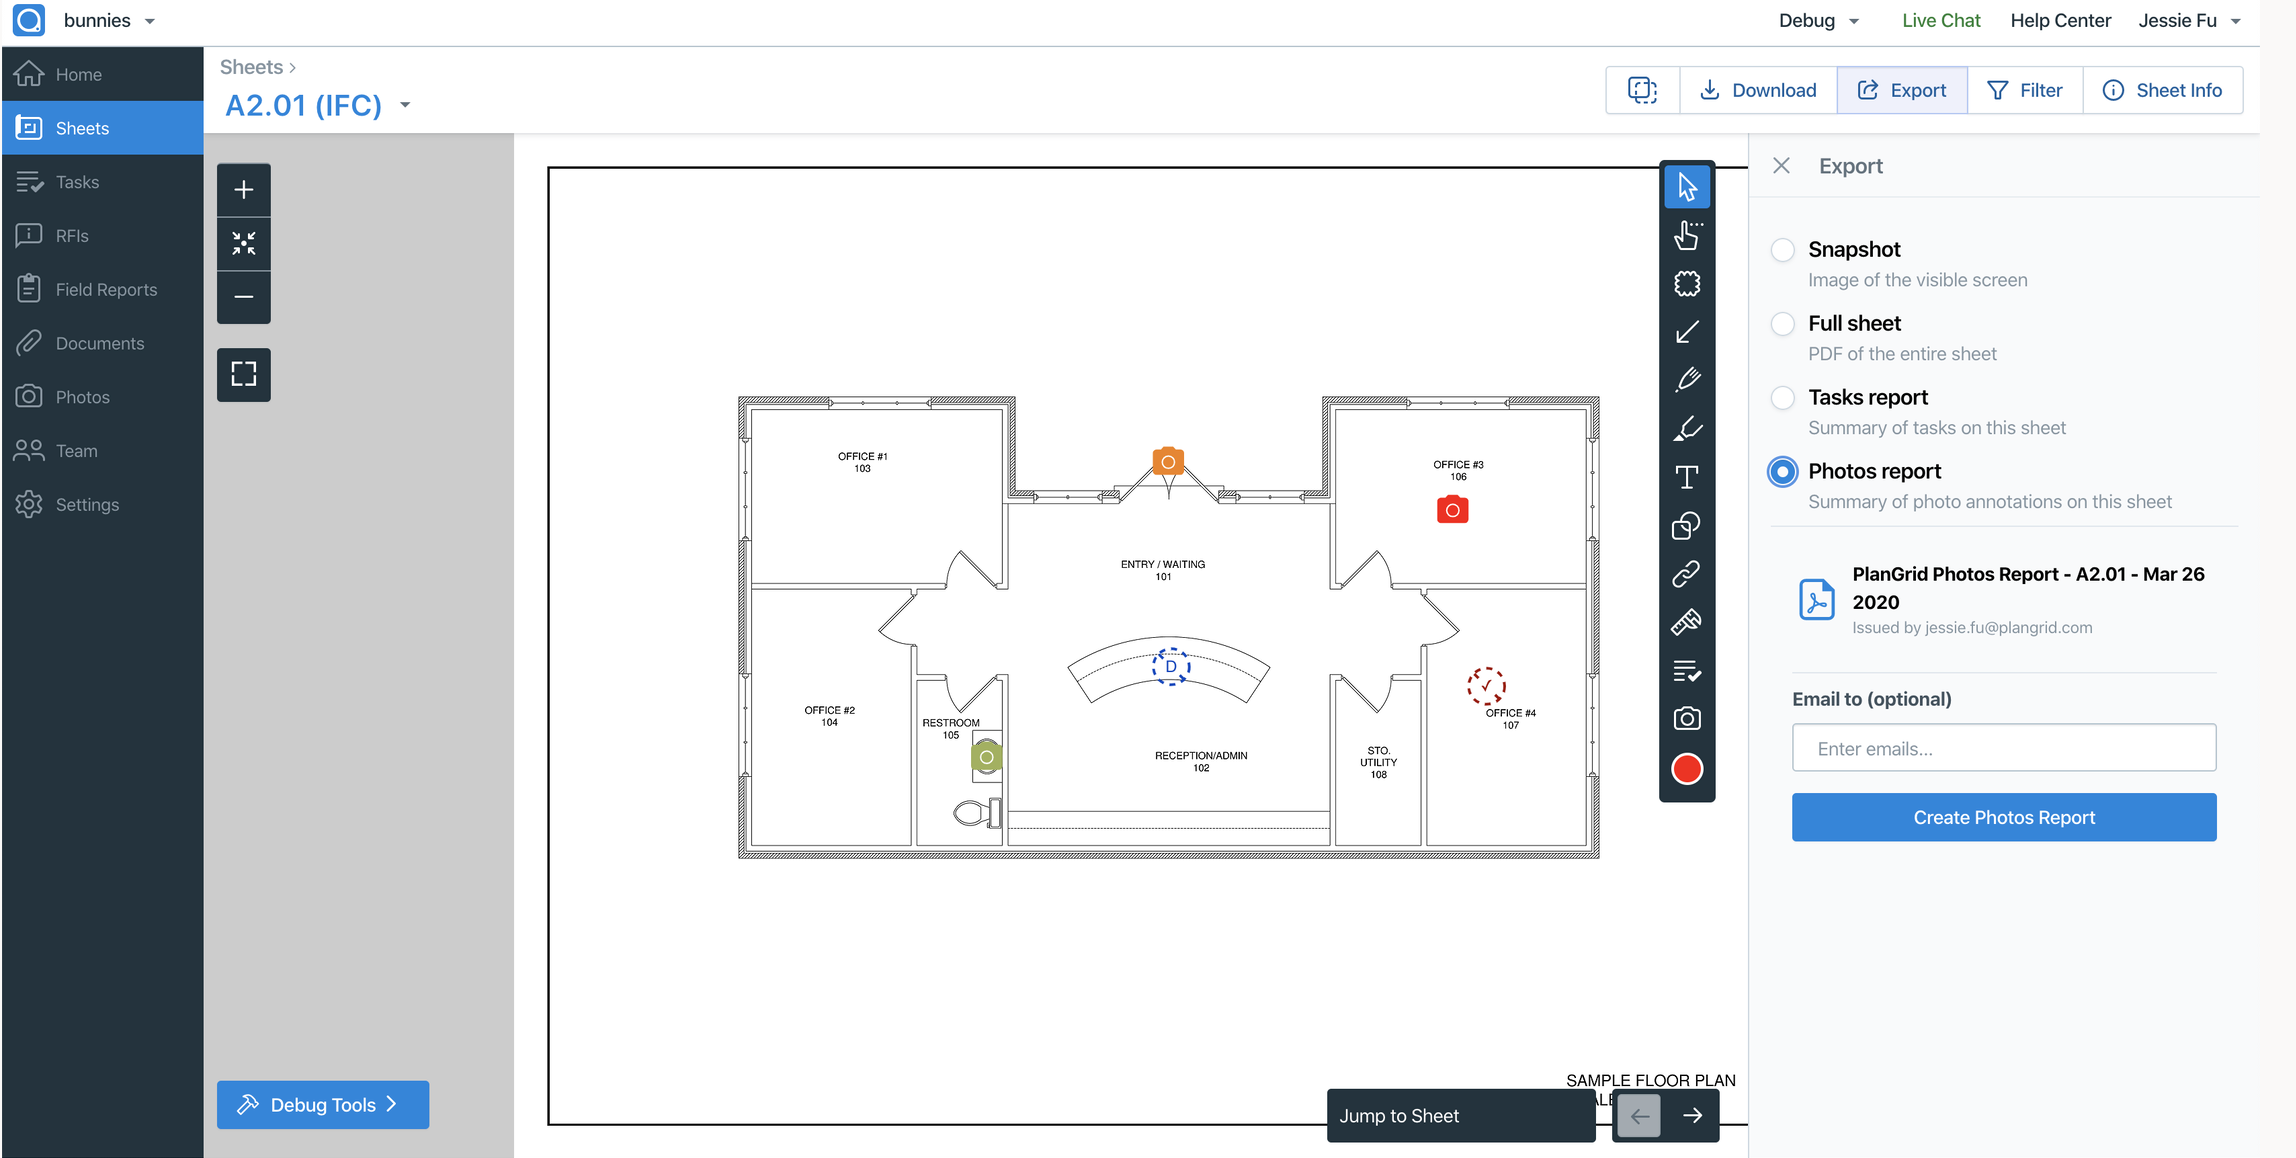
You can create a photo report directly from a specific sheet that will include a snapshot of the sheet, all associated camera markups on the Sheet snapshot with hyperlinked photo icons to the photos on the sheet, and a thumbnail view of all photos on the sheet.
On the Web
Click the “export” button in the upper right; you will see “Photos Report” listed in the report options and can click the blue “Create Photos Report” button.
On iOS
- Log into your iOS app and go into your project
- Open a sheet
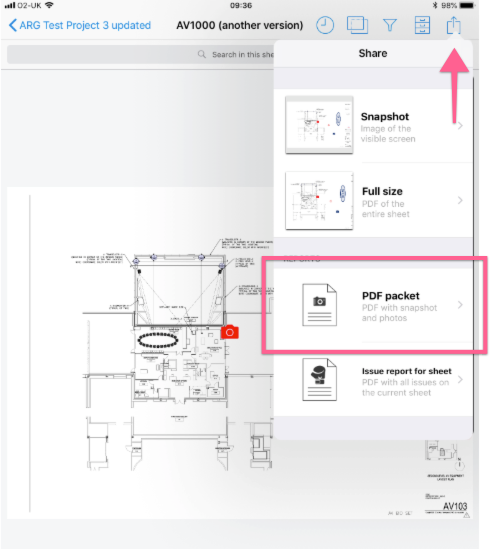
- Tap “Export” icon in upper right (box with an arrow)
- Select “PDF Packet” report
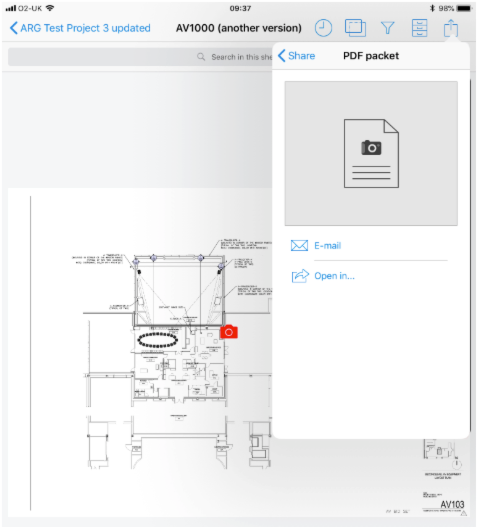
- Either email the PDF packet or “Open in” and then tap the Export arrow in the top right again to copy, print, or save the report.
On Android
- Log into your Android app and go into your project
- Open a sheet
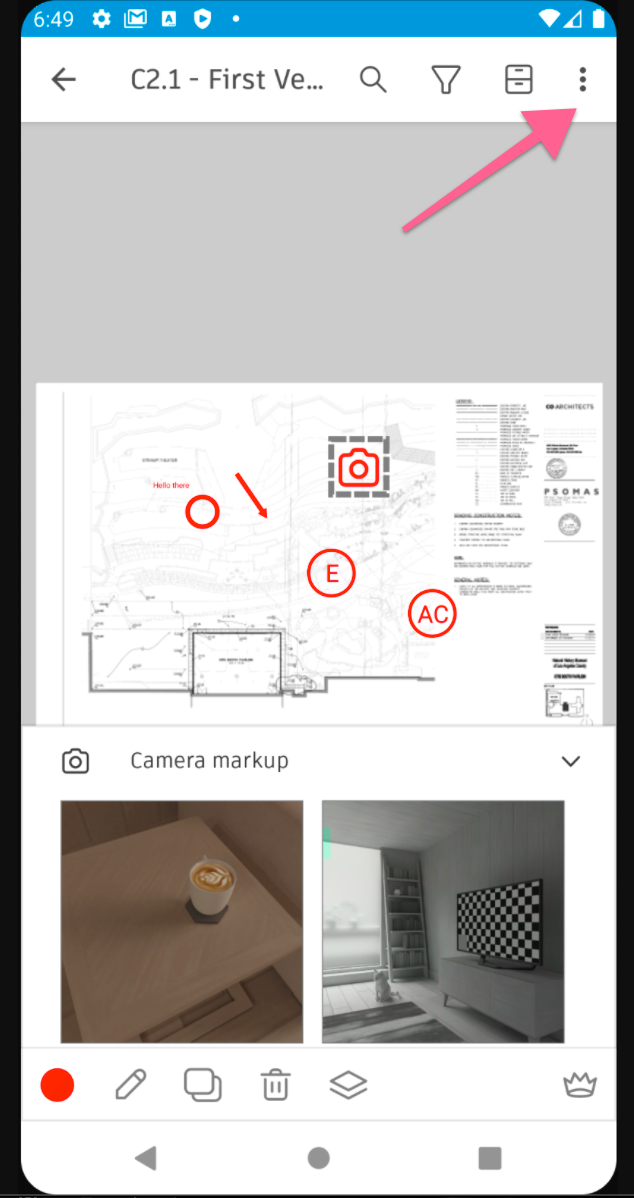
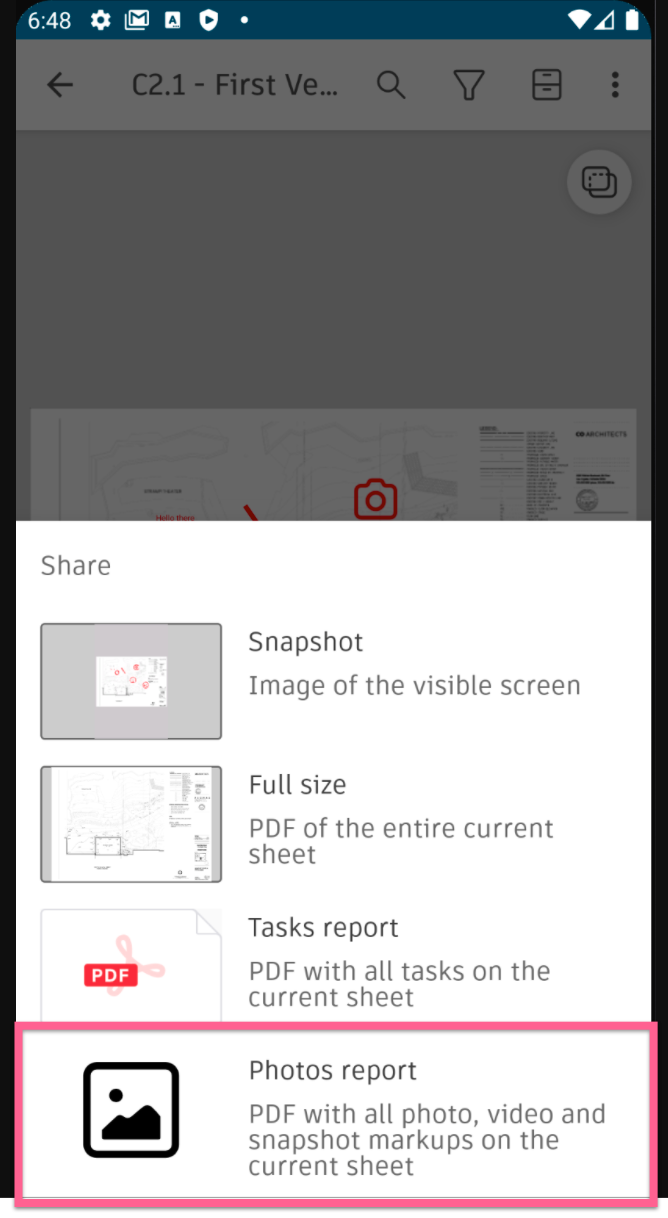
- Tap the 3 dots in the upper right, then choose "Export"
- Select “Photos Report” report
On Windows
- Log into Windows app and go into your project
- Open a sheet
- Go to 'Export' on the top and then select 'Photos Report'
- Select layout for the report from the available fields and click "generate report."
- PlanGrid will generate a shareable link with your photo report. You can copy the link to share it or download it directly as a PDF.