Step by step instructions for taking quick field measurements with PlanGrid.
To use the measurement tool:
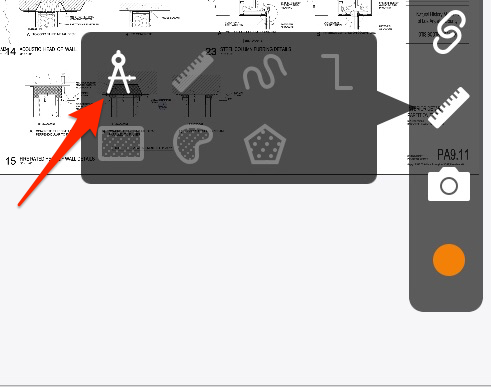
1. While viewing your sheet, tap the ruler icon, then tap on the calipers.
Note: If you have already calibrated your sheet, this tool will be gray, as the measurement tools to the right will then be clickable. You can now proceed to measure with any of those tools.

Web
iOS

Android

Windows
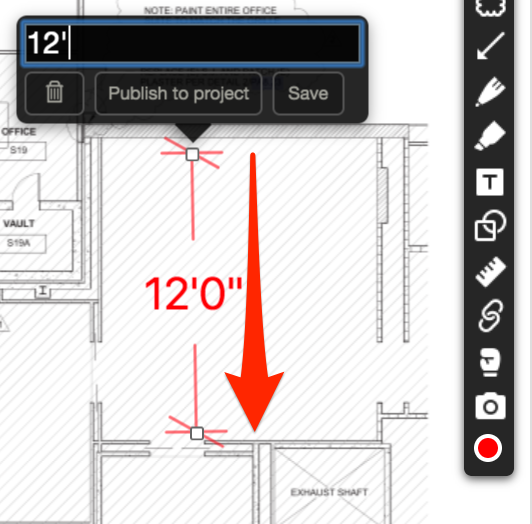
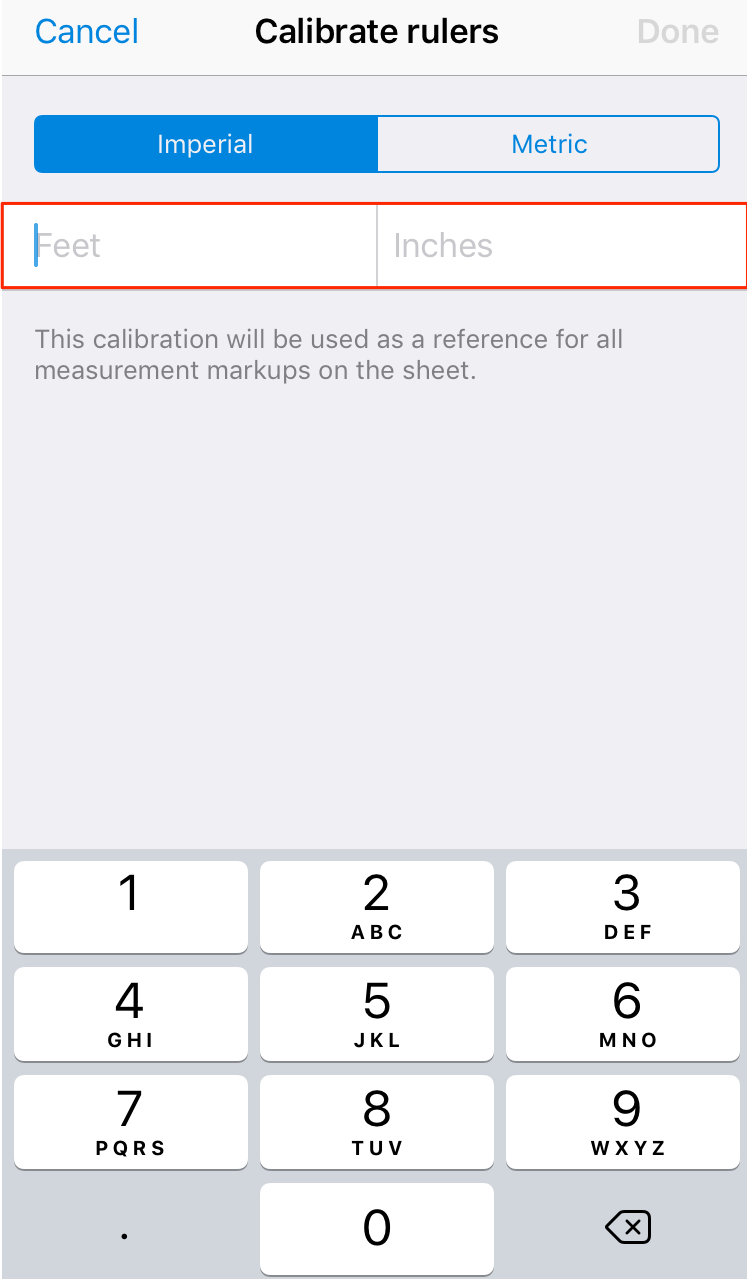
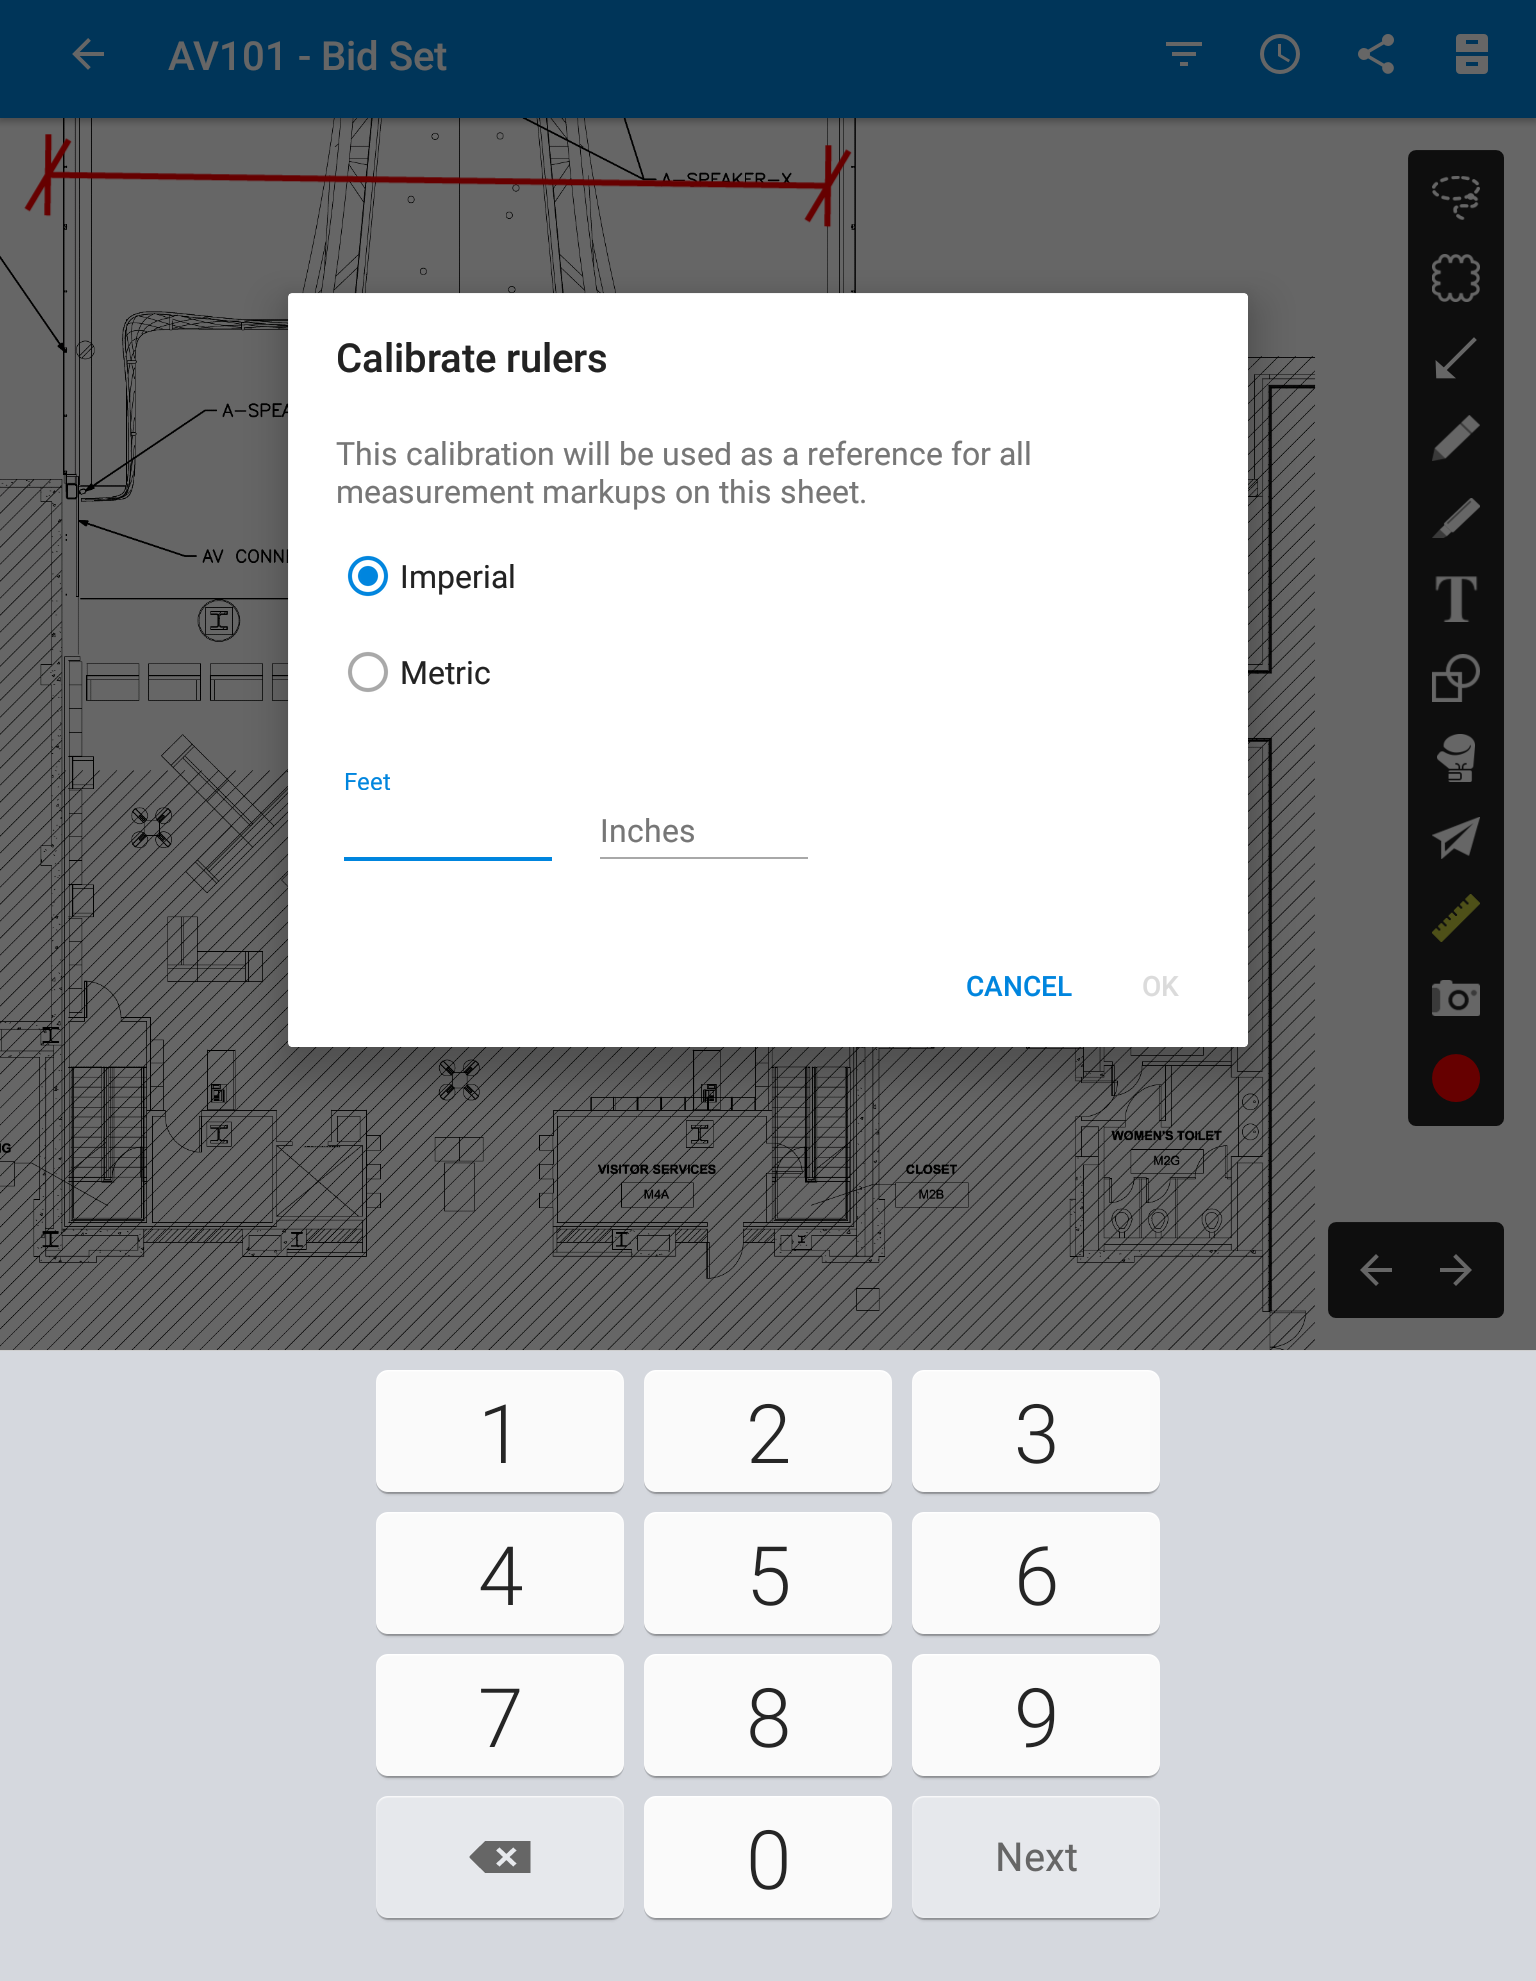
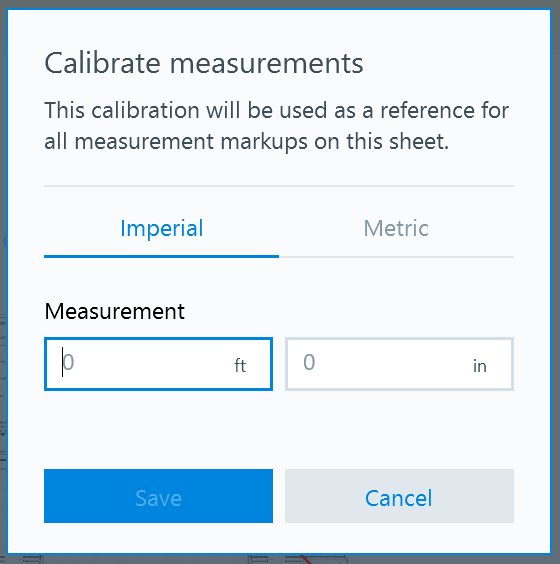
2. Find a good spot on the drawing to calibrate the tool (the graphical scale is best, but any known dimension will do). Carefully measure the known dimension, then type in the length in the dialog box. If using non-metric units, round to the nearest whole inch.
Designate feet with a single quote and inches with a double-quote character (Example: 7'2" would be 7 feet, 2 inches). For metric, use meters only (Example: 7.5m would be 7.5 meters.) Tap OK to save the measurement. Note: For iOS, Android, and Windows, a separate prompt will pop up for specific imperial or metric options.
Web
iOS
Android
Windows
3. Measure away! Tap the ruler icon again, and you'll notice the other tools are activated and ready for use. Tap any tool to select it, and and set it down on the sheet by dragging your finger across the sheet. When you release, the shape will not only appear, but also contain the measurement calculation.

- Ruler: Use this to set down a straight line.
- Rectangular area: Use this like the box or shape tool, to measure a rectangular area.
- Free-form line: Use this like the pen or highlighter tool to measure a curved or irregular line segment.
- Free-form area: Use this to draw an irregular shape on the sheet
Related Articles: