What are Custom PDF Reports?
Often, many stakeholders need to be informed of submittal progress for a project. For that reason, PlanGrid Submittals features a way to easily export professional PDF reports that can be shared outside of the project team. Now you can get rid of cumbersome spreadsheets, save time, and make sharing simple with custom PDF reports.
This feature is available for all items and packages in the Submittals module, and a user is able to export all, filtered, or selected data.
Users can select the information to export for each file and generate a customized PDF report of items and packages from their Submittals workflow. When the PDF report is created, users are able to download it and are also given a link that they can share with others, even if they don’t have a PlanGrid account.
What do Custom PDF Reports contain?
What do Custom PDF Reports contain?
Custom PDF reports can contain all of the information about an item or a package that’s available on the Submittals dashboard.
Any row containing data that is overdue will be highlighted in red.
Reports for items can contain the following fields:
- Spec Section
- Package Number
- Item Name
- Description
- Ball-in-court
- Status
- Manager
- Submitter
- Reviewers
- Created by
- Submitter Due Date
- Received from Submitter Date
- Manager Review Due Date
- Sent to Reviewer
- Reviewer Due Date
- Received from Reviewer
- Required on Job Date
- Published
- Last Activity
Reports for packages can contain the following fields:
- Submittal No.
- Spec Section
- Package Name
- Ball-in-court
- Status
- Manager
- Submitter
- Reviewers
- Created by
- Submitter Due Date
- Received from Submitter Date
- Manager Review Due Date
- Sent to Reviewer
- Reviewer Due Date
- Received from Reviewer
- Required on Job Date
- Published
- Last Activity
Creating a Report
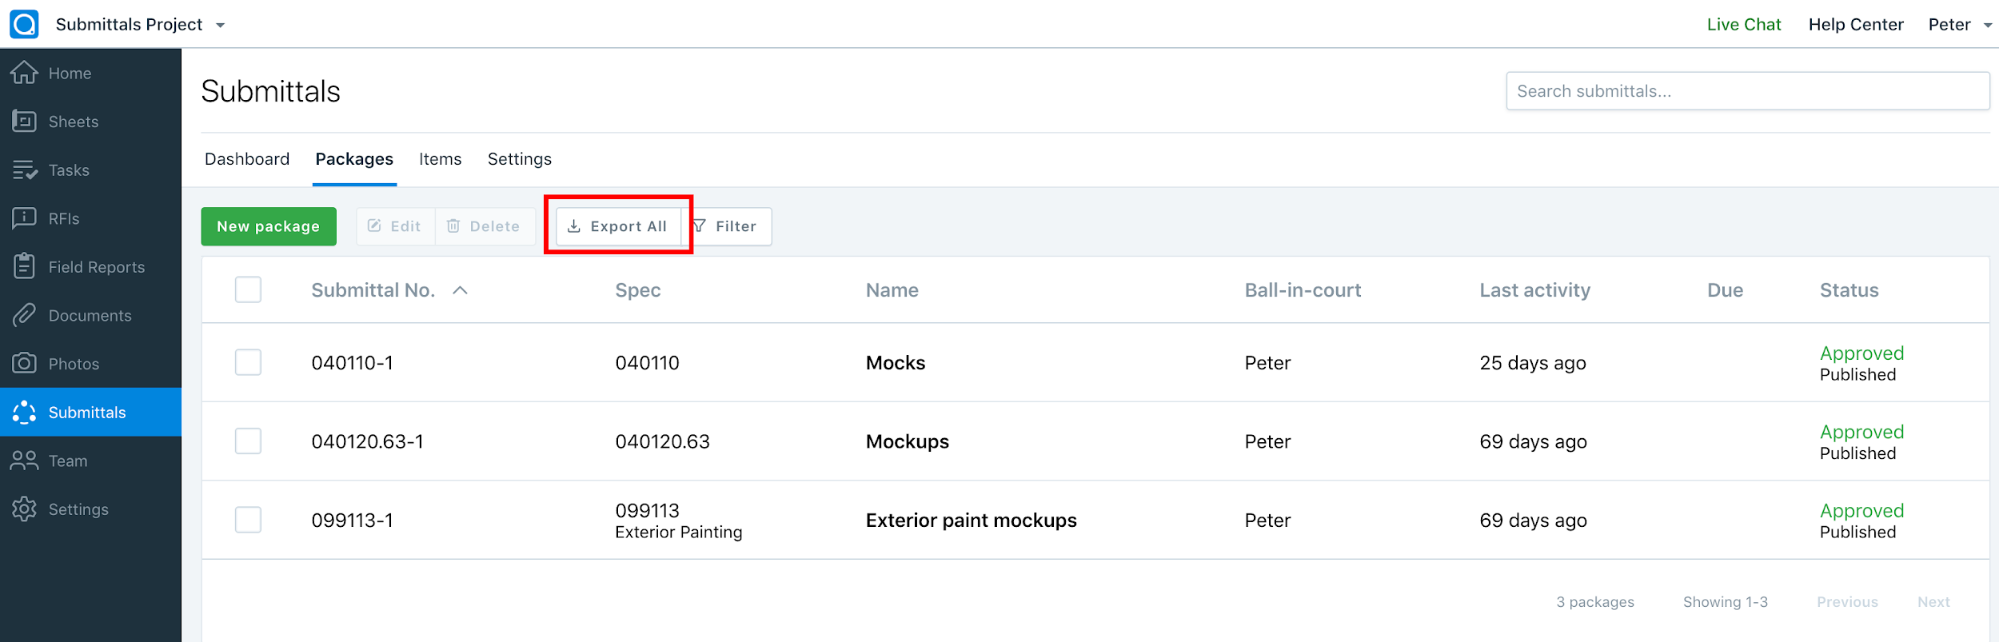
You can create a custom PDF report for a list of either packages or items. To begin, open the list of either packages or items. Here you have the option to export all items or packages, selected items or packages, or a filtered selection.
If no items or packages are selected, you’ll see the option to “Export All.”
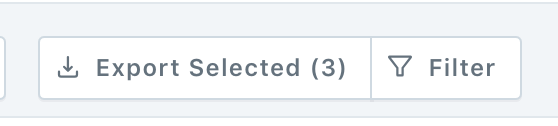
If you’ve selected certain items or packages, you’ll see the option to “Export Selected” with the number of selected items or packages in parentheses.
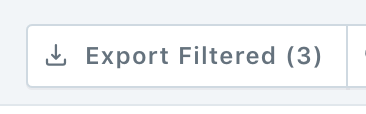
If you have a filter enabled, you’ll see the option to “Export Filtered” with the number of items or packages in parentheses.
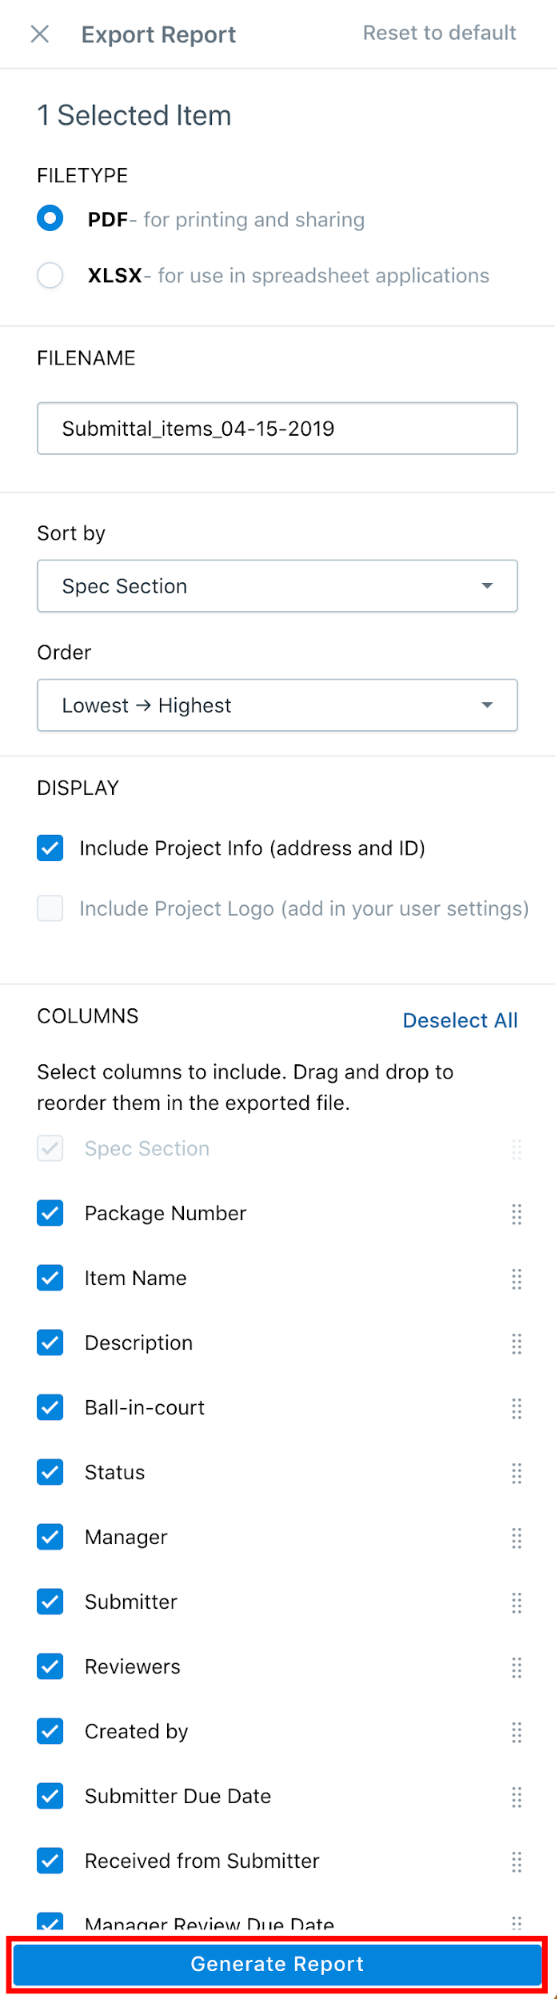
Once you’ve pressed the export button, a “Create report” drawer will open, allowing you to choose between a report in PDF or XLSX format. You’ll also see options to include project information and a logo, if you’ve uploaded one.
You’re able to customize how the report will be sorted. Choose the item to sort by and then designate whether it should be sorted lowest to highest or highest to lowest.
Next, you can select which columns to include in the report and drag and drop them to rearrange the order in which they’ll appear.
Once you’ve chosen your customized options, click “Generate Report.”
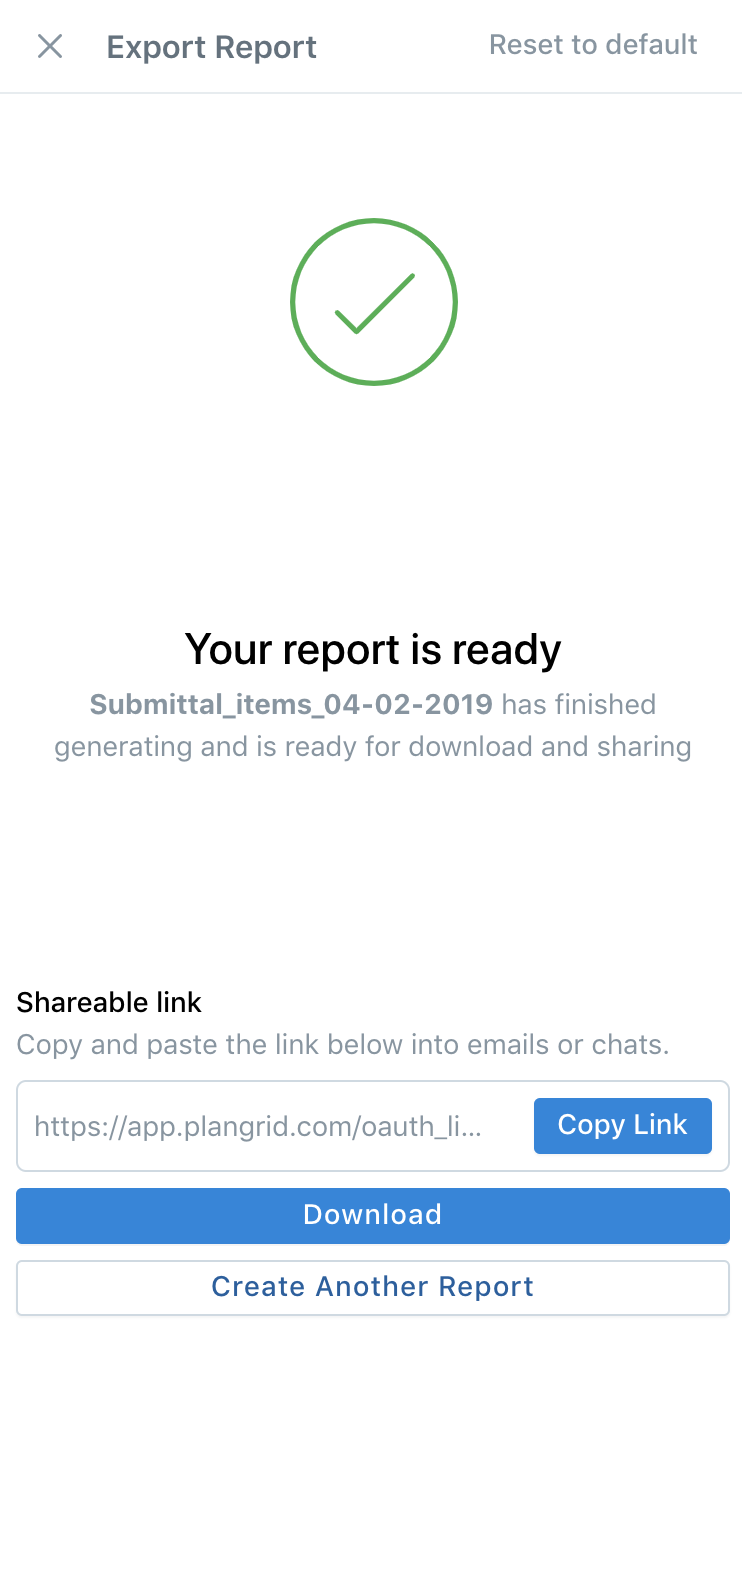
After your report finishes generating, you’ll be able to download the report directly or copy a shareable link to provide with anyone who needs access to the report.
Customizing your reports
You’re able to customize your reports to meet your particular needs for a project.
Filetype:
Select either PDF or XLSX. Use PDF to print and share and XLSX if you need to enter the report into a spreadsheet application
Filename:
Create a custom filename for your report. Name is limited to 2,000 characters.
Sort
Choose how your report will be sorted. Select any visible column type to sort by and then select whether to sort highest to lowest or lowest to highest.
Display:
Choose whether to include the project’s address and ID and whether to include a project logo. You can upload a project logo in your user settings.
Columns:
The columns available to export depend on whether you’re exporting items or packages. Select the columns you’d like to include and deselect the ones you don’t want to appear on your report.
You can also arrange the order in which the columns will appear in your final report. Simply drag and drop each column in the order you’d like them to appear. Columns arranged top to bottom in the selection drawer will appear left to right on the final report.
The submittals tool will save your customization options so that you can quickly create matching reports without having to reselect the options each time. However if you’d like to return to the default settings, use the “Reset to default” button.